Creating a Vision Board in 2020

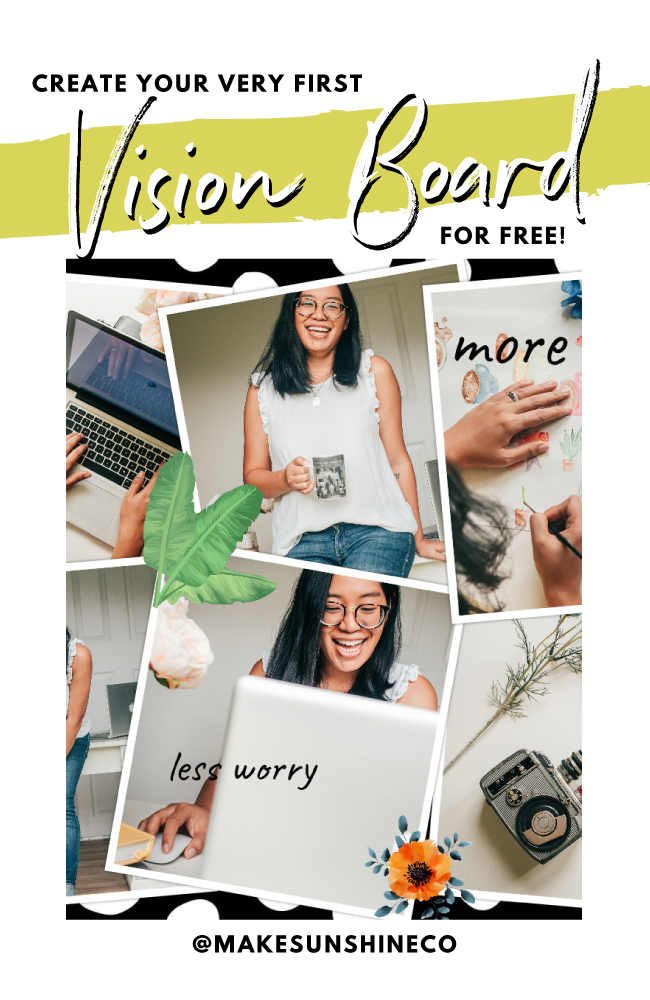
If you’re like me, and learn & are motivated by visuals – creating a vision board is a great way to get inspired and stay inspired throughout the year.
BUT if you’re also like me, and don’t buy alot of magazines and aren’t a fan of creating more things to hang up on a wall – creating a vision board online for FREE is the way to go. Here are a few easy steps to create your first vision board online, using your computer! (I prefer using my laptop instead of my mobile phone, because you can see more of your vision board when you are arranging your photos).
Vision boards can help us
- get clarity on our life’s path
- see what is important to us
- stay on track when we start to lose motivation
- get creative with our desires

It’s time to create your first vision board for FREE!
Step One. Source images and quotes.
Lucky us, there are a great range of beautiful photographs that we can use for free (since we are not selling the vision board designs we’ll create). My absolute favourite places for free stock photos are Unsplash, Pixabay and even Pinterest.
All you need to do is simply type in a keyword, and up will pop a range of photos that you can save to your computer.

Above is a screenshot of my search result for ‘Happy woman‘ at Unsplash
Find as many photos as you can that represent how you want to feel in 6 to 12 months (and beyond). Make sure you also are writing down your favourite motivational quotes (hint, check out the episode list from my podcast for some inspiration!) so you can include them on your vision board too.
Step Two. Visit PhotoCollage.com and get creating!
Please note that I have no affiliation with photocollage.com – there’s no cost to you, there’s no commission for me – it’s simply my free recommendation for you to get started TODAY!
Open up photocollage.com on your computer and you will see a blank canvas to start with.

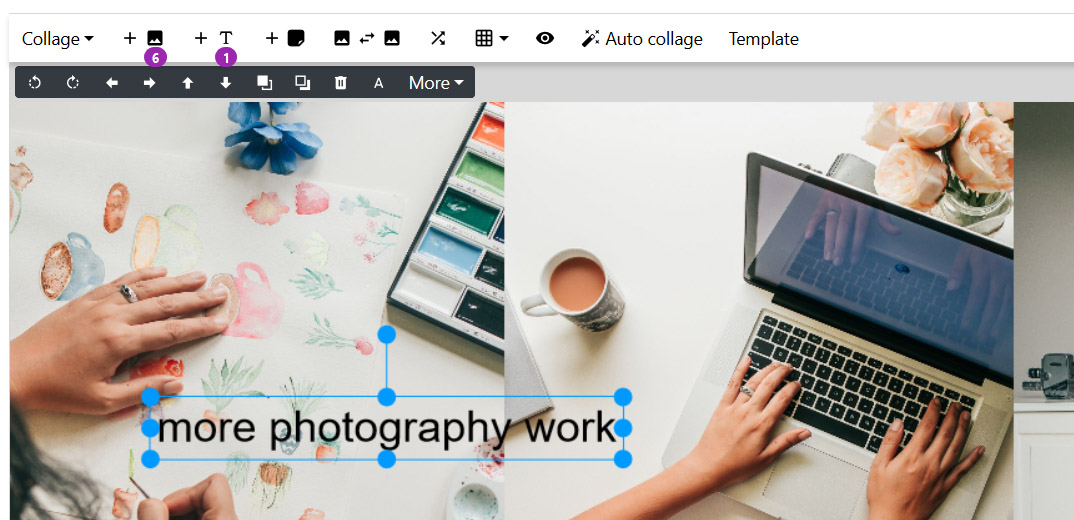
Just about the working area (the checkered grey/white boxes), you will see a horizonal toolbar menu. This is where you can add/edit things on your vision board!
Click the icon with the + and picture sign. This will let you add those beautiful photographs and quotes you saved to your computer in step one.

Once your files are loaded into the working area, you are free to drag them around individually and place them however you like. BUT if you need help arranging them, there’s also a handy ‘Auto collage’ button or ‘Template’ button that will arrange all your photos for you!

To add text on your vision board, click the icon with the + sign and the T.

There’s also a list of all the files in your collage to the very right of screen so if needed, you reorder them so the file might be on the very bottom (for a background image), or you want it to sit on top of everything (for a foreground, featured image).
Once you’ve got a cool looking vision board going, please remember to SAVE it by accessing the menu as shown in the screencap below.

Always remember to save your work!!
And that’s pretty much it! You can add as much or as little as you want, but it’s an incredibly easy way (and free!) to create a vision board straight away without having to download any new software, or cut up a hundred magazines just to get the photos you want.

My first last tip for you is to NOT dwell on getting your vision board picture perfect – what matters here is the ACTION you take once you know what you want to do!
Let me know if you have created your own vision board using my steps above, or have found any other way to do it online for free! I’d love to see what you have on your vision boards too!


follow me